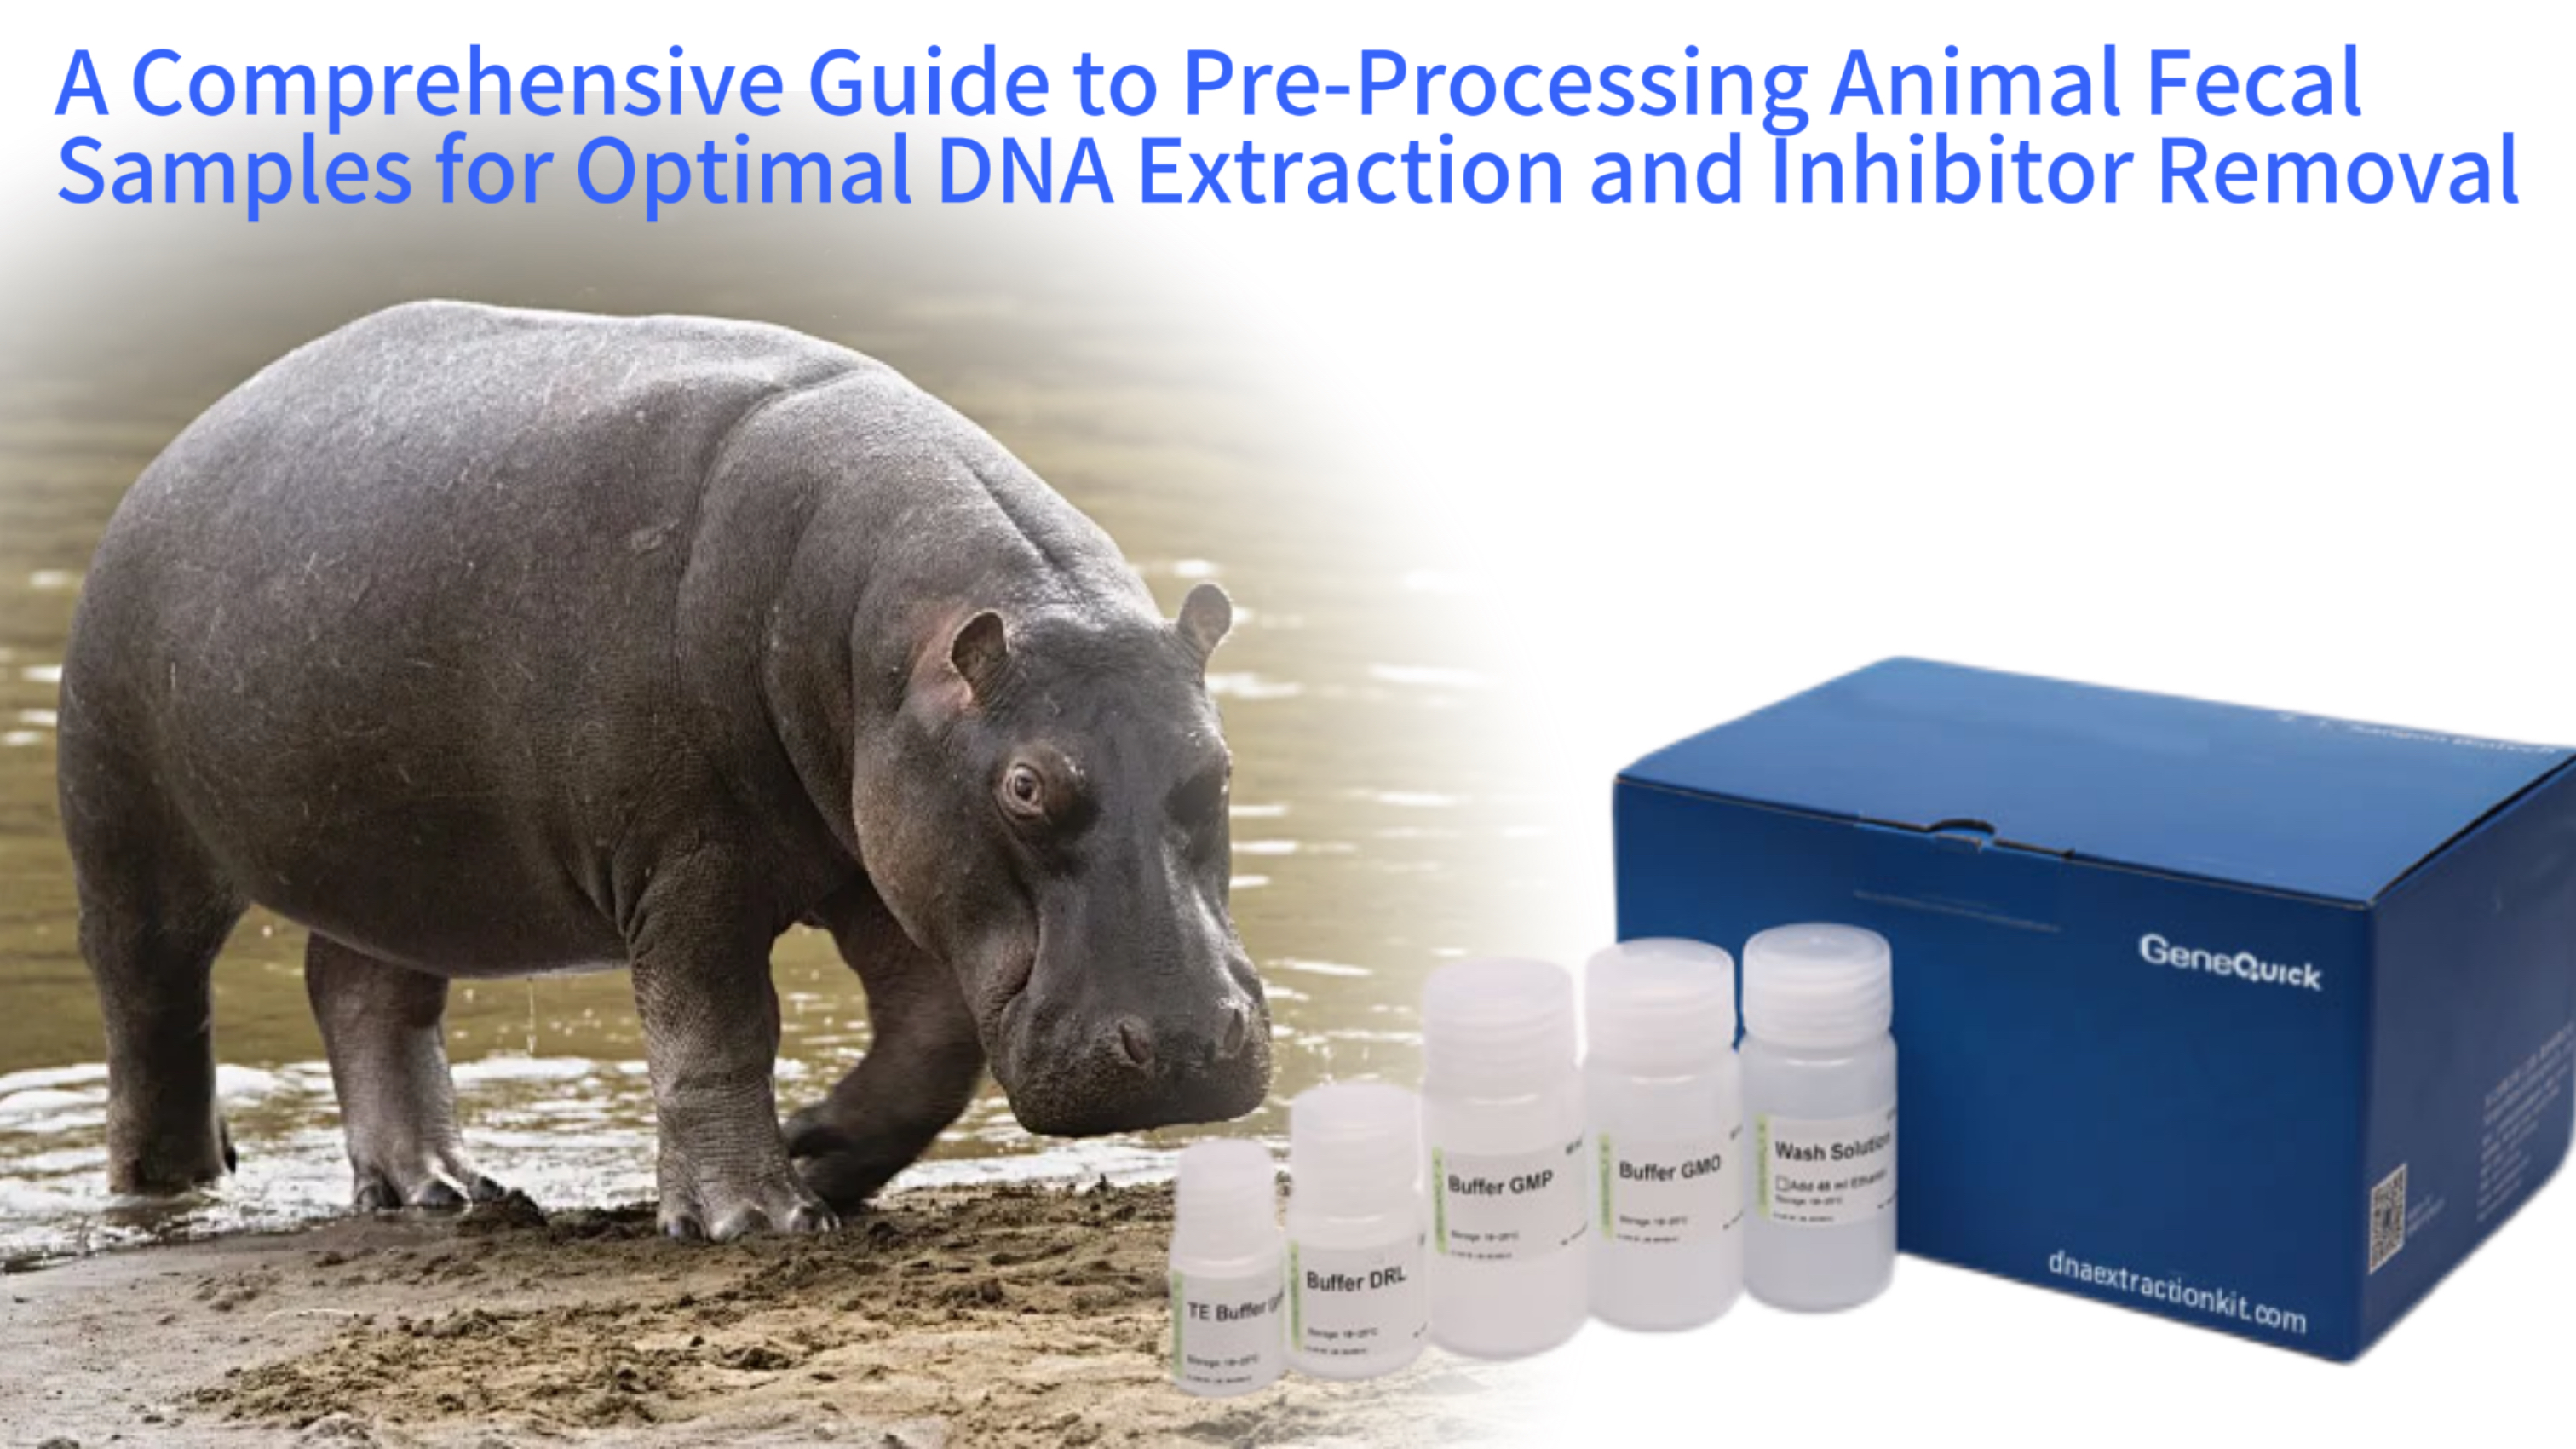
Fecal Sample Pre-Processing Workflow for Optimal DNA Extraction
Fresh Material
Metadata Recording
Specialty Buffers
Nuclease Inhibition
Pre-Lysis Buffers
Uniform Slurry
Centrifugation
Filtration
Inhibitor-Free Eluate
High-Yield DNA
Successful molecular analysis of animal feces begins long before the DNA extraction kit is opened. The quality of the final genetic data is profoundly influenced by the initial steps of sample collection, preservation, and pre-processing. This guide delves into the critical best practices for handling animal fecal samples, a complex matrix riddled with PCR inhibitors and challenging substrates. We will systematically explore the scientific rationale behind each pre-processing step, from field collection to the preparation of a homogenate ready for a specialized animal fecal DNA extraction kit. Understanding and implementing these protocols is not merely a recommendation but a necessity for obtaining high-yield, inhibitor-free DNA suitable for sensitive downstream applications like wildlife population genomics, dietary analysis, pathogen screening, and microbiome studies. This process transforms a crude biological sample into a reliable source of genetic information.
Understanding the Unique Challenges of Fecal Samples
Fecal Sample Challenges: Inhibitors & DNA Limitations
Key PCR Inhibitors in Animal Feces: Sources & Impacts
| Inhibitor Type | Source in Feces | Primary Impact on Molecular Analysis |
|---|---|---|
| Humic/Fulvic Acids | Decomposed Plant Material | Binds DNA, Inactivates DNA Polymerase, Brown Lysate |
| Bile Salts | Host Intestinal Secretions | Inhibits PCR Enzyme Activity, Disrupts Membrane Binding |
| Complex Polysaccharides | Undigested Plant Cell Walls (Cellulose, Hemicellulose) | Co-Purifies with DNA, Reduces Extraction Yield |
| Hemoglobin Derivatives | Meat-Based Diet Digestion Byproducts | Scavenges dNTPs, Inhibits Polymerase Extension |
| Digestive Enzymes/Nucleases | Host Gut Enzymes, Microbial Secretions | Degrades Target DNA, Reduces Fragment Length |
Host DNA Scarcity & Degradation Pathway
Animal feces represent one of the most heterogeneous and inhibitor-rich sample types encountered in molecular biology. Unlike pure tissue or blood, feces are a composite of sloughed intestinal epithelial cells, undigested food particles, vast communities of prokaryotic and eukaryotic microorganisms, digestive enzymes, bile salts, and complex organic compounds like humic and fulvic acids. This complex mixture creates a hostile environment for DNA extraction and subsequent amplification. The primary challenges stem from the low relative abundance of host animal DNA compared to microbial DNA, the presence of potent PCR inhibitors that can bind to DNA or inactivate polymerase enzymes, and the often partially degraded state of nucleic acids due to digestive processes. Successfully navigating these obstacles requires a pre-processing strategy designed to concentrate target material and neutralize inhibitory substances.
The Composition and Source of Common PCR Inhibitors in Feces
PCR inhibition is the single greatest technical hurdle in fecal DNA analysis. Inhibitors originate from multiple sources within the sample. Bile salts and complex polysaccharides from plant matter interfere with the DNA polymerase's activity. Hemoglobin derivatives and porphyrins from a meat-based diet can also be inhibitory. Perhaps the most problematic are humic substances, which are polyphenolic compounds derived from the decomposition of plant material; they co-purify with DNA, exhibit a brown color, and are notorious for inhibiting enzymatic reactions. These inhibitors often have chemical properties similar to nucleic acids, making them difficult to separate using standard purification methods. Their presence can lead to false negatives, reduced amplification efficiency, and completely failed reactions, wasting precious sample and reagents. Recognizing that these substances are ubiquitous in fecal matter dictates the entire pre-processing approach.
Why Host DNA is Scarce and Often Degraded
The target of many studies—the DNA of the animal that produced the feces—constitutes a tiny fraction of the total nucleic acid content. The vast majority of DNA extracted is from the gut microbiome, including bacteria, archaea, fungi, and protozoa. The host DNA itself originates from epithelial cells that are naturally shed from the intestinal lining during digestion. These cells have undergone programmed cell death and their DNA may be fragmented. Furthermore, the fecal environment contains nucleases from both the host and microbes, which actively degrade DNA over time. This results in a scenario where the desired genetic material is low in concentration, potentially fragmented, and surrounded by an overwhelming background of non-target DNA and inhibitory compounds. Effective pre-processing aims to stabilize the host DNA and improve its relative yield before the extraction process even begins.
Scientific Collection and Immediate Preservation Protocols
Sample Collection & Preservation: Methods & Efficacy
Fecal Sample Preservation Methods: Pros & Cons
| Preservation Method | Stability at Ambient Temp | Advantages | Limitations |
|---|---|---|---|
| Absolute Ethanol (≥95%) | Weeks to Months | Inexpensive, Easy to Use, Inhibits Nucleases/Microbes | Hazardous (Flammable), Brittle Samples, Dilutes Lysate |
| Silica Gel Desiccation | > 6 Months | Non-Hazardous, Easy to Ship, Preserves DNA Long-Term | Brittle Samples, Requires Complete Drying, Labor-Intensive |
| Specialty Preservation Buffers | > 12 Months | Stabilizes High Molecular Weight DNA, Soft Samples, No Dilution | Higher Cost, Proprietary Formulations, Bulkier for Field Work |
Standardized Fecal Sample Collection Protocol
The moment a fecal sample is collected determines its future molecular utility. Decisions made in the field or at the sample site have irreversible consequences on DNA quality. The overarching goals are to immediately halt nuclease activity, prevent the growth of microbes that can alter the community profile or further degrade DNA, and stabilize the sample against chemical changes. There is no universally perfect preservative; the choice depends on the research question, target organism, logistics of transport, and intended storage duration. For instance, studies focusing on metabolomics or viable microbes have different requirements than those focused solely on host genetics from shed epithelial cells. A carefully considered preservation strategy is the first and most critical step in the chain of custody for high-integrity fecal DNA.
Evaluating Preservation Media: Ethanol, Silica, and Specialty Buffers
Absolute ethanol or isopropanol are widely used field preservatives. At high concentrations, they dehydrate samples, precipitate proteins, and inhibit nuclease and microbial activity. Samples stored in ethanol are generally stable at ambient temperature for weeks, facilitating transport from remote field sites. Desiccation using silica gel beads is another effective, non-hazardous method that removes water and halts biological activity, ideal for mailing samples. However, both ethanol and silica can make samples brittle and harder to homogenize later. Commercial preservation buffers, often proprietary salt-saturated solutions with chelating agents, are designed to stabilize DNA at room temperature for extended periods while keeping tissues soft for easier processing. The choice involves a trade-off between preservation efficacy, safety, cost, and downstream processing convenience. For long-term archival of samples intended for diverse environmental DNA analysis, a specialized buffer is often superior.
Standardized Sampling to Ensure Representativeness and Avoid Contamination
Consistency in sampling technique is vital for comparative studies. Protocols should specify whether the entire dropping or a specific sub-section is collected. The outer surface may have different microbial communities or environmental contaminants compared to the core. Using sterile instruments for each sample is non-negotiable to prevent cross-contamination between individuals or species, a particular concern in high-density environments like zoos or farms. Gloves should be changed frequently. For non-invasive wildlife studies, collecting the freshest sample possible minimizes environmental degradation and exposure to the elements. Detailed metadata, including date, time, location, and apparent freshness, should be recorded alongside the sample, as this information can be crucial for interpreting molecular results later, especially in ecological or conservation genetics contexts.
Laboratory Homogenization and Initial Lysis Strategies
Laboratory Homogenization & Initial Lysis: Methods & Efficacy
Mechanical Disruption Techniques: Bead Beating vs. Vortexing
| Performance Criterion | Bead Beating (High-Speed) | Vortexing (with Particulates) |
|---|---|---|
| Microbial Cell Disruption Efficacy | Excellent (95-100%) | Moderate (60-80%) |
| Gram-Positive Bacteria/Fungi Disruption | Superb (Effective for Spores) | Poor (Ineffective for Tough Cell Walls) |
| Sample Homogeneity | High (Uniform Slurry) | Low (Variable Particle Distribution) |
| DNA Shearing Risk | Moderate (Mitigable with Cooling) | Low (Gentler Mechanical Force) |
| Throughput for High Sample Volumes | High (Automated Systems Available) | Low (Manual, Time-Consuming) |
Standard Homogenization & Pre-Lysis Protocol
Upon arrival in the laboratory, the preserved fecal sample must be transformed into a homogeneous slurry from which a representative aliquot can be taken for DNA extraction. This step is crucial for breaking apart the complex fecal matrix, liberating cells from particulate matter, and beginning the process of chemical lysis. Ineffective homogenization leads to poor sub-sampling reproducibility, where one aliquot may contain a piece of undigested seed coat rich in inhibitors while another does not, causing high variability between technical replicates. The homogenization method must be robust enough to disrupt tough plant fibers and chitin but not so harsh as to shear the already-fragile host DNA into pieces too small for analysis. This balance is achieved through mechanical disruption combined with the initial action of a lysis buffer.
Mechanical Disruption: Bead Beating Versus Vortexing
Mechanical force is required to physically break open microbial cell walls and release intracellular DNA. Bead beating, using a high-speed shaker with small, dense beads, is considered the gold standard for fecal homogenization. The violent collision of beads with the sample provides efficient and consistent disruption of even Gram-positive bacterial cells and fungal spores. It ensures the microbial community profile reflects the true diversity in the sample. Vortexing with coarse particulate matter, while simpler, is less effective for breaking tough cells and can lead to inconsistent results. The choice of bead material and size can be optimized; for example, a mixture of ceramic and silica beads may provide the best all-around disruption. It is important to include a cooling step or use instruments with cooling adapters, as the heat generated during bead beating can degrade DNA. This step is integral to protocols for comprehensive research on complex microbial communities.
The Role of Pre-Lysis Buffers and Detergents
Homogenization is typically performed in the presence of an initial lysis buffer. This buffer often contains a detergent like sodium dodecyl sulfate to dissolve lipid membranes and start disrupting cells. It may also include chelating agents to sequester metal ions that could catalyze DNA degradation. For particularly challenging samples rich in plant matter, a pre-treatment with buffers containing cetyltrimethylammonium bromide or other surfactants can help dissociate polysaccharides and polyphenols from the cellular material before the main extraction. The goal of this stage is not to complete the DNA extraction but to create a uniform slurry where all components of the sample are evenly suspended and the inhibitors are beginning to be solubilized or neutralized, setting the stage for more effective purification in the subsequent kit-based steps.
Targeted Removal of PCR Inhibitors Prior to Purification
PCR Inhibitor Removal: Chemical & Physical Techniques
Inhibitor Mitigation Strategies: Efficacy & Application
| Removal Technique | Target Inhibitors | Efficacy Rating (1-5) | DNA Yield Impact |
|---|---|---|---|
| Polyvinylpolypyrrolidone (PVPP) | Humic/Fulvic Acids, Polyphenols | 5/5 (Excellent) | Minimal (≤5% Loss) |
| Bovine Serum Albumin (BSA) | Bile Salts, Humics, Enzyme Inhibitors | 4/5 (Very Good) | None (Competitive Binding, No DNA Loss) |
| Differential Centrifugation | Undigested Particulates, Large Polysaccharides | 4/5 (Very Good) | Moderate (5-10% Loss) |
| Membrane Filtration (0.22μm) | Particulate Debris, Microbial Aggregates | 3/5 (Good) | Moderate to High (10-15% Loss) |
Targeted Inhibitor Removal Protocol
After creating a homogenate, dedicated steps for inhibitor removal can dramatically improve the success rate of downstream PCR. While modern DNA extraction kits contain components to handle common inhibitors, heavily contaminated samples often benefit from a preliminary clean-up. These pre-purification techniques exploit the differential chemical or physical properties of inhibitors versus the target cells or DNA. Strategies can be broadly categorized into those that remove inhibitors by binding, precipitation, or selective digestion. Implementing such a step requires careful optimization, as overly aggressive clean-up can lead to significant loss of the already-scarce target DNA. The decision to include a dedicated inhibitor removal step is based on the sample type, the level of inhibition anticipated, and the sensitivity of the intended downstream application.
Utilizing Chemical Agents: Polyvinylpolypyrrolidone and Albumin
Polyvinylpolypyrrolidone is a polymer with a high affinity for polyphenolic compounds like humic and fulvic acids. Adding a small amount of PVPP to the fecal homogenate and incubating with agitation allows the polymer to bind these inhibitors. The PVPP-inhibitor complex is then removed by centrifugation before proceeding to the DNA binding step of the extraction kit. This can significantly lighten the color of the lysate and improve PCR performance. Bovine serum albumin is another common additive; it does not remove inhibitors but acts as a competitive binding agent in the PCR itself. BSA binds to leftover inhibitory compounds in the purified DNA eluate, preventing them from interacting with the DNA polymerase. While BSA is often added to the PCR master mix, pre-treating the sample with it can sometimes be beneficial. These chemical aids are simple, low-cost interventions that can rescue otherwise problematic samples.
Physical Separation Techniques: Centrifugation and Filtration
Differential centrifugation is a fundamental technique for separating fecal components based on size and density. A low-speed spin can pellet large, undigested food particles and debris, allowing the transfer of the supernatant containing cells and soluble inhibitors to a new tube. A subsequent high-speed centrifugation step can pellet microbial cells, enabling the researcher to discard the inhibitor-rich supernatant and proceed with DNA extraction from the pelleted cell fraction. This method enriches for cellular material but may lose extracellular DNA or DNA from lysed cells. Membrane filtration, using filters with specific pore sizes, can achieve a similar separation, concentrating microbial cells while allowing small inhibitor molecules to pass through. These physical methods are particularly useful when the target DNA is primarily intracellular, such as in bacterial community analysis, and can be effectively paired with a silica-bead based purification system designed for clean cell pellets.
Optimized Storage of Processed Homogenates and Lysates
Processed Sample Storage: Stability & Best Practices
Lysate/Homogenate Storage: Conditions & Stability
| Storage Condition | Storage Duration | DNA Stability | Key Considerations |
|---|---|---|---|
| 4°C (Refrigerated) | Short-Term (1-3 Days) | High (Minimal Degradation) | Ideal for Immediate Batch Processing, Avoid Contamination |
| -20°C (Standard Freezer) | Medium-Term (1-6 Months) | High (Stable with Guanidinium Buffers) | Aliquot to Avoid Freeze-Thaw Cycles, Prevent Ice Crystal Damage |
| -80°C (Ultra-Low Freezer) | Long-Term (≥12 Months) | Excellent (Near Complete Stability) | Ideal for Archival Samples, Best for High Molecular Weight DNA |
Optimized Storage & Sample Tracking Protocol
Following homogenization and potential pre-cleanup, the sample is often in the form of a crude lysate ready for the formal DNA extraction. There are frequent scenarios where immediate processing of all lysates is not feasible due to time constraints or the need to batch extractions. Therefore, understanding the stability of this intermediate product is essential. Improper storage of the lysate can lead to DNA degradation and the re-emergence of inhibitory activity, negating all prior careful pre-processing. The lysate contains active detergents and proteases from the lysis buffer, which, while necessary for breaking down structures, can also damage DNA if left for too long under suboptimal conditions. Establishing a standard operating procedure for lysate storage ensures batch-to-batch consistency and protects the integrity of the biological material.
Short-Term Versus Long-Term Storage Conditions
For short-term delays of a few hours to a couple of days, storing the homogenized lysate at 4°C is generally acceptable. The cold temperature slows down enzymatic and chemical degradation processes. For longer-term storage, freezing at -20°C or preferably -80°C is required. It is critical to divide the lysate into single-use aliquots before freezing to avoid repeated freeze-thaw cycles, which are highly detrimental to DNA integrity. Each thaw cycle can cause strand breaks and reduce the average fragment size. When using lysis buffers containing guanidinium salts, which are chaotropic agents that denature proteins and nucleases, the lysates are typically stable for months at -20°C. However, the compatibility of the storage buffer with the downstream extraction kit should be verified, as some kit protocols are optimized for fresh lysis. This consideration is equally important for other sample types, such as when storing pre-processed soil or agricultural samples prior to DNA isolation.
Documenting Sample History for Reproducibility
Maintaining a detailed log for each sample through its pre-processing journey is a cornerstone of good laboratory practice. This log should include the date of collection, preservation method, date of homogenization, the specific lysis buffer and bead-beating conditions used, any pre-cleanup steps applied, and the dates and conditions of any storage periods. This information is invaluable for troubleshooting. If a batch of extractions fails, the sample history can reveal patterns—perhaps samples homogenized on a particular day or stored for an extended period before extraction are underperforming. This rigorous documentation also ensures the scientific reproducibility of the work, allowing other researchers to understand exactly how the sample was treated before the DNA extraction kit was employed, which is a fundamental requirement for publication in peer-reviewed journals.
Selecting and Adapting DNA Extraction Kits for Pre-Processed Feces
DNA Extraction Kit Selection: Fecal Sample Optimization
DNA Extraction Kits: Compatibility with Pre-Processed Feces
<td style="padding: 10px; border: 1px solid #ddd; small-scale; Rare Sample DNA Recovery, Clone Libraries| Kit Type | Core Chemistry | Inhibitor Resistance | Throughput | Ideal Downstream Applications |
|---|---|---|---|---|
| Silica Membrane Spin Column | Silica Binding (High Salt, Low pH) | High | Low to Medium (Manual) | PCR, qPCR, Small-Scale Microbiome |
| Magnetic Bead-Based | Magnetic Particle Binding (Functionalized) | Very High | High (Automated) | High-Throughput qPCR, Metagenomics, GWAS |
| Silica Bead (Manual) | Silica Bead Adsorption & Elution | High | Low (Manual, Labor-Intensive) |
Kit Selection & Extraction Troubleshooting Protocol
Not all DNA extraction kits are created equal for fecal samples. A kit that performs excellently for blood or tissue may fail miserably with feces due to residual inhibitors. The pre-processing steps described above are designed to create a sample compatible with robust, high-performance kits. When selecting a kit, key features to prioritize include a proven track record with inhibitor-rich samples, compatibility with the starting volume of your homogenate, and a protocol that aligns with your throughput needs. Furthermore, the pre-processing protocol may need slight adjustments to optimize synergy with the chosen kit. The end goal is a seamless workflow where the pre-processed sample is in the ideal state for the kit's chemistry to bind the DNA with high specificity while allowing inhibitors to flow through during wash steps.
Matching Kit Chemistry to Sample Input and Downstream Goals
The output of pre-processing is often a larger volume of lysate than a standard tissue lysate. Therefore, choosing a kit with a high binding capacity and the flexibility to handle larger input volumes is important. For high-throughput studies, magnetic bead-based platforms are advantageous as they are easily automated. For applications requiring very high molecular weight DNA, such as metagenomic assembly, gentle lysis and purification methods that minimize shearing are critical, and the pre-processing homogenization speed and time should be adjusted accordingly. If the target is host DNA from epithelial cells, a kit that includes steps to selectively enrich for mammalian DNA or deplete microbial DNA might be considered, though this often occurs at the library preparation stage after extraction. The kit selection is the final, critical decision that converts the carefully prepared sample into analyzable genetic material.
Troubleshooting Extraction Failures Linked to Pre-Processing
When DNA yield is low or PCR inhibition is still detected after extraction, the pre-processing stage should be the first area of investigation. Common issues include insufficient homogenization, leading to poor cell lysis and DNA release, or overly aggressive homogenization, causing DNA shearing. Inadequate removal of inhibitors during pre-cleanup can overwhelm the kit's binding capacity. Another frequent problem is an incorrect sample-to-buffer ratio during lysis, which can affect pH and salt concentration, critical parameters for optimal DNA binding to silica membranes or magnetic beads. Running control samples with known performance alongside new batches can help diagnose whether the issue lies with the pre-processing or the extraction kit itself. Systematic review and adjustment of the pre-processing protocol, informed by the principles outlined in this guide, will typically resolve these challenges and lead to reliable, high-quality DNA from even the most difficult fecal samples.
The journey from a fresh fecal sample to pure, amplifiable DNA is a deliberate and technical process. Excellence in the initial pre-processing stages of collection, preservation, homogenization, and inhibitor mitigation is what separates successful genetic studies from failed experiments. By viewing the DNA extraction kit not as a starting point but as the culmination of a carefully orchestrated sample preparation workflow, researchers can unlock the full potential of fecal samples as a non-invasive window into animal health, genetics, and ecology. The practices outlined here, grounded in an understanding of the sample's biochemical complexity, provide a robust framework for achieving consistent and trustworthy molecular results.
Protocols developed from extensive laboratory experience in processing complex biological matrices for genomic analysis.