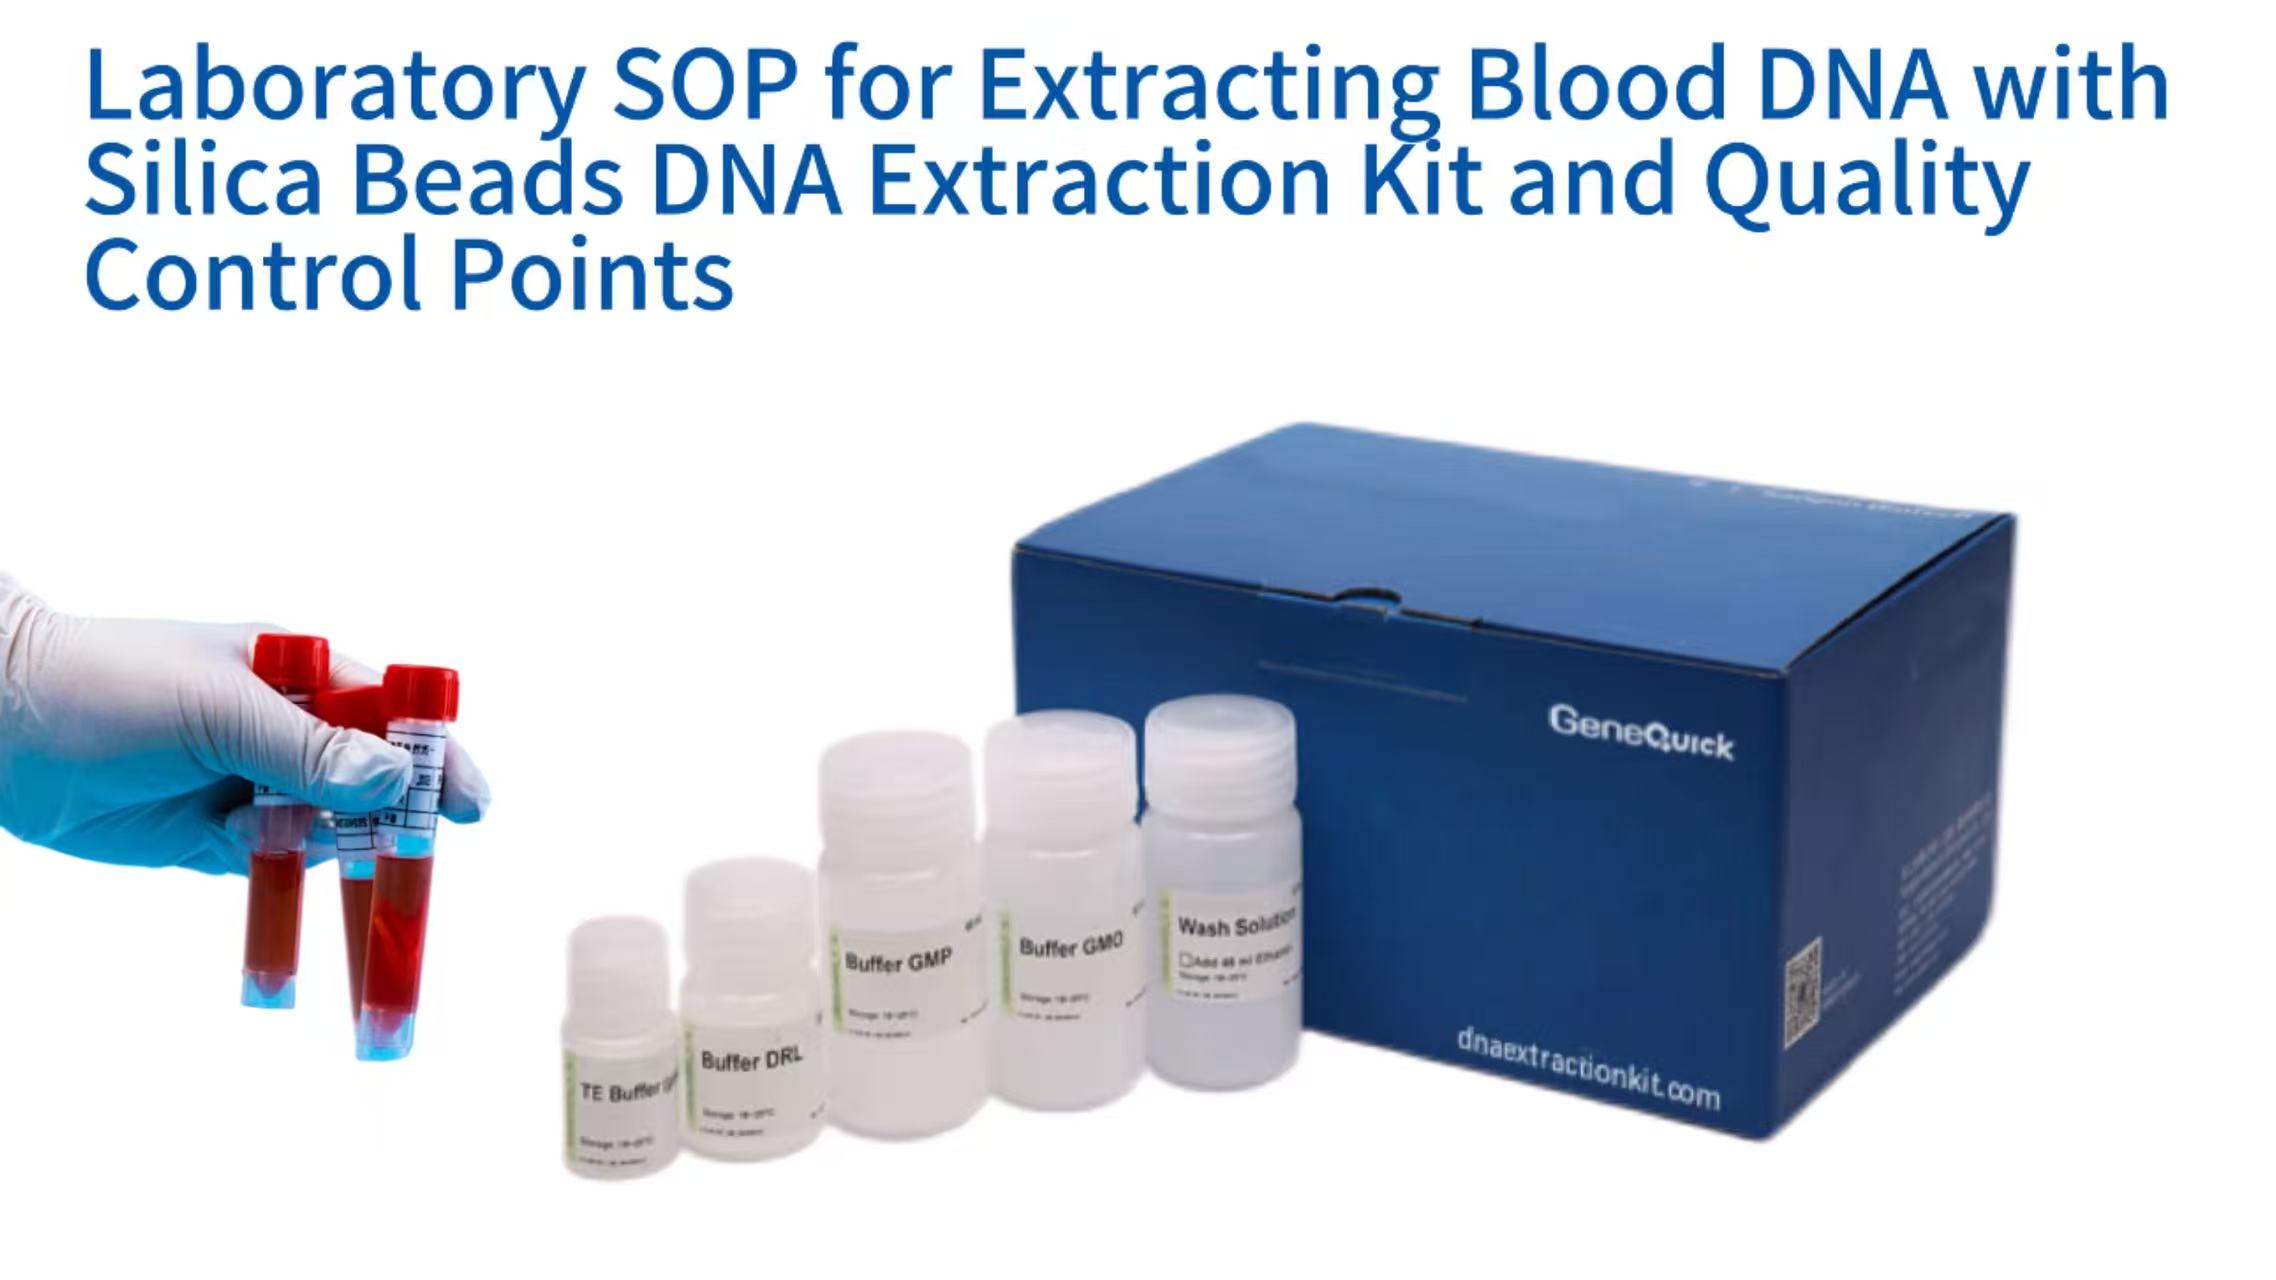
Extracting genomic DNA from whole blood is a foundational procedure in molecular biology, yet its success hinges on a delicate balance of chemistry, technique, and vigilance. For laboratories processing samples for clinical diagnostics, forensic identification, or large-scale biobanking projects, a standardized operating procedure paired with rigorous quality control is not merely a recommendation but a necessity. This guide provides a comprehensive overview of a laboratory SOP designed for silica beads DNA extraction kits, detailing each critical step from sample reception to the final quality assessment of the eluted DNA. By understanding the molecular principles at work and the specific control points that safeguard DNA integrity, laboratory personnel can ensure that their output consistently meets the demanding requirements of downstream applications such as quantitative PCR and next-generation sequencing.
Establishing the Foundation: Pre-Extraction Protocols and Sample Integrity
EDTA Anticoagulant (Optimal)
2–8°C (≤3 days) / -80°C (Long-term)
200µL–1mL Input / Buffy Coat Isolation (If Needed)
Decontamination / Calibrated Equipment
The journey to high-quality DNA begins long before the first buffer is dispensed. The manner in which a blood sample is collected, transported, and stored fundamentally dictates the maximum achievable quality of the extracted genomic material. A robust SOP must therefore begin with stringent guidelines for sample handling to mitigate the effects of nucleases and physical shearing, which are primary enemies of DNA integrity.
Blood Collection and Anticoagulant Considerations
The choice of anticoagulant in blood collection tubes can influence downstream processes. While EDTA is the most common choice for molecular biology due to its efficient chelation of divalent cations, including the magnesium ions essential for nuclease activity, other anticoagulants like citrate or heparin may be encountered. Heparin, in particular, is a known potent inhibitor of PCR reactions and must be completely removed during the purification process. Laboratories should validate their extraction protocol with the specific anticoagulant used in their sample stream. For standard extractions using silica beads kits designed for animal blood, fresh blood collected in EDTA tubes and processed within a few days of storage at 2–8°C provides an ideal starting material.
Assessing Blood Storage Duration and Conditions
Time and temperature are critical variables that directly impact DNA yield and fragment length. Fresh blood samples stored at refrigerated temperatures for 2–3 days are often considered optimal, as this brief period can help standardize lysis efficiency. However, prolonged storage at 4°C leads to leukocyte instability and eventual lysis, releasing endogenous nucleases that degrade the DNA. For long-term archiving, freezing at -80°C is the standard. A critical SOP point is to ensure that frozen blood samples are not thawed prior to the addition of lysis buffer; thawing at room temperature allows ice crystal-damaged cells to release nucleases, which can rapidly shred the high molecular weight DNA before it is protected by the chaotropic salts in the lysis buffer. The SOP should mandate the direct addition of lysis buffer to the still-frozen sample.
Sample Preparation: From Whole Blood to Lysate
The SOP must clearly define the sample input volume, typically ranging from 200 µL to 1 mL of whole blood. For samples with low leukocyte counts, such as those from immunocompromised patients or ancient samples, using the buffy coat layer after centrifugation can significantly concentrate the white blood cells and improve DNA yield. The protocol should specify centrifugation parameters for isolating the buffy coat if required. Additionally, any necessary pre-treatment steps, such as the removal of plasma for certain applications, must be detailed to ensure consistency across different operators and experiments.
Facility and Equipment Preparation
Contamination is a pervasive risk, especially in low-yield samples. A quality-conscious SOP mandates the preparation of a clean work environment. This includes decontaminating work surfaces with a 10% bleach solution or commercial DNA degrading agents, and the use of dedicated equipment. For sensitive downstream analyses like NGS, it is advisable to set up pre-amplification and post-amplification areas. The SOP should also include a pre-extraction checklist for equipment such as centrifuges, heat blocks, and vortex mixers, ensuring they are calibrated and functioning within specified parameters. For workflows employing bead beating, ultraviolet sterilization of silica beads and collection tubes for 30 minutes is an effective method to eliminate contaminating nucleic acids, a step frequently essential when working with microbial samples in research contexts.
The Core Mechanism: Molecular Principles of Silica Beads DNA Extraction
Chaotropic Salts + Proteinase K
56°C Incubation
High Salt / Low pH
DNA Adsorbs to Silica
Ethanol-Based Buffers
Remove Contaminants
Low Salt / Alkaline pH (8.0–8.5)
Release Pure DNA
At the heart of the silica beads extraction kit lies a elegantly simple physico-chemical process. Understanding this mechanism allows laboratory staff to troubleshoot effectively and appreciate why each step in the SOP is non-negotiable. The entire procedure revolves around manipulating the electrostatic interactions between the negatively charged phosphate backbone of DNA and the silica surface under varying salt and pH conditions.
Lysis: Chaotropic Salts and Cellular Disruption
The first functional step is the complete disruption of cellular and nuclear membranes to release the genomic DNA. This is achieved using a lysis buffer containing high concentrations of chaotropic salts, such as guanidine hydrochloride or guanidine isothiocyanate. These agents disrupt the hydrogen bonding network of water, destabilizing proteins and facilitating their denaturation. They also inactivate endogenous nucleases, providing an immediate protective environment for the DNA. The SOP typically requires the addition of Proteinase K, a robust serine protease that digests histones and other DNA-associated proteins, further purifying the nucleic acid and reducing viscosity. The lysis incubation is usually carried out at 56°C for a specified duration to optimize enzyme activity.
Binding: The Chaotropic Salt Bridge
Following lysis, the cellular debris is separated, and the DNA-containing lysate is prepared for binding. The addition of a binding buffer, which further increases the chaotropic salt concentration, creates the conditions necessary for DNA adsorption onto the silica beads. At a high ionic strength and a pH typically below 7.5, the chaotropic salts act as a "bridge," dehydrating the DNA and the silica surface, allowing them to come into close contact. Under these conditions, the DNA binds strongly and specifically to the silica beads, while many other cellular components, such as proteins and carbohydrates, do not. The SOP will specify a binding incubation period during which the sample is mixed to maximize the interaction between the DNA and the silica matrix.
Washing: A Rinse Cycle for Purity
With the DNA securely bound to the silica beads, the next phase involves the sequential removal of residual contaminants. Wash buffers, which contain ethanol or isopropanol along with lower concentrations of chaotropic salts, are added to the beads. The alcohol maintains the DNA in a precipitated, bound state on the silica while solubilizing and washing away proteins, salts, and other organic molecules like heme from the blood. The SOP will dictate the volume and number of washes, typically two or three, to ensure that inhibitors are thoroughly eliminated without prematurely eluting the target DNA. After the final wash, a dry step, often involving air-drying or a brief centrifugation, is critical to evaporate any residual ethanol, which can interfere with downstream enzymatic reactions.
Elution: Releasing the Purified DNA
The final step reverses the binding process. An elution buffer, typically composed of a low-salt solution like Tris-EDTA (TE) or simply nuclease-free water with a slightly alkaline pH (8.0–8.5), is applied to the dried silica beads. In this low-salt environment, the electrostatic repulsion between the DNA and the silica surface is restored, causing the DNA to be released into the solution. The efficiency of elution can be increased by pre-heating the elution buffer to 56–70°C and by allowing it to incubate on the beads for a few minutes to maximize diffusion of large DNA fragments off the silica matrix. The final eluate contains the purified, high-molecular-weight genomic DNA, ready for quality control and downstream use.
Step-by-Step Laboratory SOP for Manual Silica Beads Blood DNA Extraction
| Step | Key Reagents/Equipment | Parameters | Critical Notes |
|---|---|---|---|
| 1. Lysis & Protein Digestion | Proteinase K, Lysis Buffer (AL/BL), Heat Block | 200µL blood, 56°C for 10–30 mins, vortex 15–20s | Solution must clear (indicates successful lysis) |
| 2. Binding to Silica Beads | 96–100% Ethanol, Silica Beads | 200–210µL ethanol, incubate 10–15 mins (room temp) | Thorough mixing to maximize DNA adsorption |
| 3. Washing | Wash Buffers (AW1/AW2), Centrifuge | 2–3 washes, air-dry 5–10 mins post-final wash | Remove all residual ethanol (critical for downstream use) |
| 4. Elution | Elution Buffer (EB/AE), Heat Block | 50–200µL buffer (pre-warmed to 56°C), incubate 5–10 mins | Smaller volume = higher DNA concentration |
(56°C)
(Silica Beads)
(Ethanol)
(56°C)
This section provides a detailed, bench-level protocol for the manual extraction of DNA from whole blood using a generic silica beads kit. It serves as a template that can be adapted to a specific manufacturer's kit, such as those designed for various blood volumes and anticoagulants. The emphasis is on reproducibility and the critical actions at each stage.
Initial Lysis and Protein Digestion
Begin by equilibrating all reagents and samples to room temperature, ensuring that any precipitated salts in buffers have dissolved. For each sample, aliquot the specified volume of whole blood (e.g., 200 µL) into a clean 1.5 mL or 2 mL microcentrifuge tube. Add the prescribed volume of Proteinase K solution to the sample. Then, add the lysis buffer (often designated Buffer AL or BL) and mix immediately by pulse-vortexing for 15–20 seconds to ensure a homogeneous lysate and to maximize nuclease inactivation. Incubate the mixture in a heat block or water bath set to 56°C for 10–30 minutes. During this incubation, the solution should clear, indicating successful lysis. Briefly centrifuge the tubes to collect any condensation from the lids.
Binding to the Silica Matrix
After lysis, add ethanol (96–100%) to the sample as per the SOP (e.g., 200–210 µL). The ethanol is a critical component of the binding conditions. Vortex or pipet-mix thoroughly to combine. Carefully transfer the entire lysate mixture (which may have a precipitate) onto the pre-wetted silica beads. If using a batch format in a tube, the beads are typically already in suspension or added at this stage. The mixture is then incubated with gentle agitation or placed on a rotating mixer for 10–15 minutes at room temperature. This allows the DNA to adsorb onto the silica bead surfaces. Following binding, the beads are collected by centrifugation or by using a magnetic stand, and the supernatant, containing unbound contaminants, is carefully discarded.
Stringent Washing for Inhibitor Removal
With the DNA now bound to the beads, the washing phase begins. Add the first wash buffer (e.g., Buffer AW1 or BW1) to the bead pellet. Resuspend the beads completely by vortexing or pipetting to ensure all surfaces are exposed to the wash buffer. Centrifuge to pellet the beads again or apply a magnetic field, then remove and discard the supernatant. This process is repeated with a second, often more stringent wash buffer (e.g., Buffer AW2 or BW2) which contains a higher concentration of ethanol to remove any remaining chaotropic salts and other impurities. The SOP may include an additional wash with 70% ethanol for particularly inhibitor-rich samples. After the final wash, it is imperative to remove all traces of the wash buffer. A second brief centrifugation may be performed to collect residual liquid at the bottom of the tube, which is then carefully pipetted off. The tube is then left open to air-dry for 5–10 minutes to ensure complete ethanol evaporation.
Elution and Final Collection
Once the beads are completely dry, add the pre-warmed elution buffer (Buffer EB or AE) directly onto the bead pellet. The volume of elution buffer (typically 50–200 µL) can be adjusted depending on the desired final DNA concentration; smaller volumes yield a higher concentration. Gently resuspend the beads and incubate at 56°C for 5–10 minutes. This elevated temperature enhances the release of high molecular weight DNA. Following incubation, the beads are pelleted one final time, and the supernatant containing the eluted DNA is carefully transferred to a labeled, sterile 1.5 mL microcentrifuge tube. This purified DNA should be stored at 4°C for short-term use or at -20°C (or -80°C for long-term archiving) to prevent degradation.
Critical Quality Control Points in the DNA Extraction Workflow
| QC Method | Measured Attribute | Acceptable Threshold | Use Case |
|---|---|---|---|
| Spectrophotometry (NanoDrop) | Purity (A260/280, A260/230) | A260/280 ≥1.7; A260/230 ≥1.8 | Quick purity check |
| Fluorometry (Qubit/PicoGreen) | dsDNA Concentration/Yield | Match expected yield for input volume | Precise quantification (NGS/dPCR) |
| Capillary Electrophoresis (TapeStation) | Integrity (DIN) | DIN ≥8 (NGS); DIN ≥6 (PCR) | Fragment length assessment |
| Functional PCR | Inhibitor presence | Successful amplification of target gene | Validate downstream compatibility |
The value of extracted DNA is entirely dependent on its quality. Implementing quality control checks at strategic points throughout the workflow allows for immediate detection of issues and prevents subpar nucleic acids from being used in costly downstream assays. The QC process evaluates purity, quantity, and integrity, each providing unique insights into the success of the extraction.
Spectrophotometric Assessment of Purity (A260/280 and A260/230 Ratios)
Immediately following elution, a spectrophotometric analysis is performed, typically using a NanoDrop instrument. This provides a rapid assessment of DNA purity. The A260/280 ratio, comparing absorbance at 260 nm (nucleic acids) and 280 nm (proteins), is a primary indicator. A ratio of approximately 1.8 is universally accepted as "pure" for DNA. Significantly lower ratios suggest protein or phenol contamination. The A260/230 ratio is a secondary measure of purity, comparing nucleic acid absorbance to that at 230 nm, where many common contaminants like chaotropic salts, carbohydrates, and phenolate ions absorb. Expected values for pure DNA are typically in the range of 2.0–2.2. Lower A260/230 ratios are a red flag for inhibitor carryover that can severely impair PCR and NGS library preparation.
Fluorometric Quantification for Accurate Yield Measurement
While spectrophotometry gives a rough estimate of total nucleic acid content, it cannot distinguish between DNA, RNA, and free nucleotides. For applications requiring precise DNA input, such as NGS or digital PCR, fluorometric quantification using dyes that specifically bind double-stranded DNA (like PicoGreen or Qubit assays) is essential. This method provides an accurate measure of dsDNA concentration, enabling the user to calculate the total yield from the extraction. A study comparing extraction methods for biobanking highlighted that fluorometric analysis with a Qubit fluorometer, alongside spectrophotometry, is critical for assessing true DNA yield and concentration for downstream genomic workflows.
Assessing DNA Integrity via Gel Electrophoresis or Capillary Systems
Purity and quantity are not enough; the physical integrity, or fragment size, of the DNA is paramount. Degraded DNA appears as a smear of small fragments rather than a single high molecular weight band. While traditional agarose gel electrophoresis can provide a visual assessment, it lacks precision. The industry standard for integrity assessment is the use of microfluidic capillary electrophoresis systems like the Agilent TapeStation or QIAxcel. These systems generate a DNA Integrity Number (DIN) ranging from 1 to 10, with 10 representing completely intact DNA. High DIN values (typically >8) are non-negotiable for applications requiring long sequencing reads or long-range PCR. The QIAxcel system, for example, offers a rapid, reliable, and effective method for quality control of purified genomic DNA, clearly showing whether degradation products are present.
Functional Testing: The Ultimate QC for Downstream Applications
The most definitive quality control is the performance of the DNA in its intended downstream assay. An SOP should include a provision for functional testing, especially for critical samples. This might involve setting up a control PCR reaction targeting a single-copy gene. Successful amplification confirms the absence of polymerase inhibitors that might have been missed by spectrophotometry. For more demanding applications like genetic testing or oncology panels, a multiplex PCR or a low-pass whole genome sequencing run can serve as the final arbiter of DNA quality, confirming that the extracted material is not only pure and intact but also fully functional.
Troubleshooting Common Anomalies in Blood DNA Extraction
| Observed Issue | Common Causes | Corrective Actions |
|---|---|---|
| Low DNA Yield |
• Insufficient Proteinase K/lysis time • Improper sample storage (pre-degradation) • Inadequate binding (wrong ethanol concentration) • Incomplete elution (wrong pH/temp) |
• Verify reagent volumes/incubation times • Use fresh samples or optimize storage • Ensure correct ethanol addition • Pre-warm elution buffer (56–70°C) and incubate 5+ mins |
| Low A260/280 Ratio (<1.7) |
• Protein carryover • Incomplete Proteinase K digestion • Inadequate washing |
• Extend Proteinase K incubation • Add extra wash step • Ensure thorough resuspension of beads during washing |
| Low A260/230 Ratio (<1.8) |
• Residual chaotropic salts/ethanol • Expired/invalid wash buffers • Incorrect ethanol concentration in wash buffers |
• Extend drying step (10+ mins) • Prepare fresh wash buffers • Verify ethanol addition to buffer concentrates |
| DNA Degradation (Low DIN) |
• Premature thawing of frozen samples • Inadequate nuclease inactivation • Excessive vortexing/shearing |
• Add lysis buffer to frozen samples directly • Ensure immediate mixing with lysis buffer • Use gentle inversion instead of vortexing (for long-read sequencing) |
Even with a perfectly written SOP, variations in sample quality or technique can lead to suboptimal results. A valuable SOP includes a troubleshooting guide that connects observed problems—low yield, poor purity, or degraded DNA—with their most likely causes and corrective actions. This empowers laboratory staff to resolve issues efficiently and maintain workflow continuity.
Addressing Low DNA Yield
A common complaint is that the final eluate contains far less DNA than expected. This can stem from multiple points in the protocol. Insufficient lysis, often due to an inadequate volume of Proteinase K or too short an incubation time, is a primary cause. Using blood samples that have been stored improperly, leading to pre-extraction DNA degradation, will also result in low recovery of intact DNA. Issues during the binding step, such as incorrect ethanol concentration in the lysate or insufficient mixing with the silica beads, can prevent DNA from adsorbing. Finally, elution might be incomplete, especially if the elution buffer is not at the correct pH or temperature, or if it was not allowed to incubate on the beads for long enough. The SOP should advise users to verify all reagent additions and incubation parameters, and to consider using a silica beads DNA extraction kit for blood that is optimized for high recovery from challenging samples.
Correcting Purity Ratio Deviations
A low A260/280 ratio (<1.7) typically points to protein carryover. This can be mitigated by ensuring complete digestion with Proteinase K and by being meticulous during the wash steps to remove all proteinaceous debris. A low A260/230 ratio (<1.8) is a hallmark of residual chaotropic salts or ethanol from the wash buffers. The most common remedy is to ensure the final drying step before elution is adequate to evaporate all ethanol. Additionally, preparing fresh wash buffers and confirming that the correct amount of ethanol was added to the concentrates is crucial, as an incorrect ethanol concentration can impair washing efficiency. For samples with exceptionally high levels of inhibitors, such as those from certain patient populations, an additional cleanup step using an inhibitor removal technology may be warranted, a consideration often critical in mutation analysis workflows.
Preventing and Identifying DNA Degradation
DNA degradation, visible as smearing on a gel or a low DIN, is often irreversible. Prevention is the best strategy. The SOP must strictly enforce protocols that minimize nuclease exposure. This includes immediately lysing samples upon thawing, keeping all reagents and samples on ice where appropriate, and using certified nuclease-free consumables. If degradation is observed in a sample that should be intact, it suggests a failure in the lysis step to quickly inactivate nucleases, possibly due to insufficient mixing of the blood with the lysis buffer at the very start of the procedure. Forensic laboratories dealing with degraded post-mortem samples must implement specific QC measures and optimized protocols to salvage as much information as possible from challenging genetic material, often relying on specialized bone DNA extraction kits.
Ensuring Compatibility with High-Stakes Downstream Applications
| Downstream Application | Key Requirement | Purity (A260/230) | Integrity (DIN) | Special Notes |
|---|---|---|---|---|
| PCR/qPCR | Inhibitor-free DNA | ≥1.8 | ≥6 | Functional PCR validation mandatory |
| NGS (Whole Genome) | High molecular weight DNA | ≥2.0 | ≥8 | Avoid fragmented DNA (causes duplicate reads) |
| Microarray Genotyping | High purity + concentration | ≥1.9 | ≥7 | Minimize batch-to-batch variation |
| Long-Read Sequencing (PacBio/Nanopore) | Ultra-high molecular weight DNA | ≥2.0 | ≥9 (or PFGE-verified length) | Use wide-bore pipettes; avoid vortexing |
The ultimate goal of any DNA extraction is to produce a substrate that performs flawlessly in subsequent analytical techniques. Different downstream applications have varying tolerances for DNA quality attributes. A well-designed SOP acknowledges these requirements and tailors the extraction and QC processes accordingly, ensuring that the DNA is not just pure, but "fit for purpose."
PCR and qPCR: The Need for Inhibitor-Free Templates
For endpoint PCR and quantitative PCR (qPCR), the primary requirement is the complete absence of enzymatic inhibitors. Common blood-derived inhibitors like heme, immunoglobin G, and lactoferrin, as well as residual ethanol from extraction, can bind to the DNA polymerase or interfere with fluorescence detection, leading to delayed Ct values, reduced amplification efficiency, or false negatives. DNA intended for qPCR must pass stringent A260/230 purity checks (ideally >1.8) and should be validated in a functional test amplification. The use of a dedicated clinical DNA extraction kit for infectious diseases often incorporates additional wash steps to guarantee inhibitor removal for sensitive diagnostic assays.
Next-Generation Sequencing (NGS): The Demand for Integrity and Accuracy
NGS workflows impose the most rigorous demands on DNA quality. Library preparation methods, particularly those for whole-genome sequencing, rely on random fragmentation of high molecular weight DNA. If the starting DNA is already fragmented, the resulting library will contain a high proportion of duplicate reads and will have non-uniform coverage, compromising variant calling accuracy. For NGS, especially on platforms like the Ion Torrent, the DIN value is a critical QC metric. A study on forensic samples for massively parallel sequencing emphasized the high variability in DNA quantity from post-mortem blood and the necessity of careful quality control and optimization of library preparation conditions to obtain meaningful results. The extraction SOP for NGS must prioritize the preservation of fragment length.
Microarray Genotyping: Balancing Purity and Concentration
Microarray-based genotyping, such as for genome-wide association studies (GWAS) or animal DNA extraction from bone in large populations, requires high-purity DNA at relatively high concentrations. These assays are sensitive to contaminants that can interfere with fluorescent labeling and hybridization. As noted in biobanking research, the chosen extraction method must reliably deliver both the required yield and purity to ensure optimal data recovery from microarray experiments. The SOP for such high-throughput settings must be standardized to minimize batch-to-batch variation, a key factor for the validity of large-scale studies, and many facilities rely on research-grade blood DNA kits for this purpose.
Long-Read Sequencing Technologies: A New Paradigm for Integrity
Emerging third-generation sequencing technologies from platforms like PacBio and Oxford Nanopore sequence single molecules in real-time and can generate reads tens to hundreds of kilobases long. The value of these technologies lies in their ability to resolve complex genomic regions and structural variants, which is only possible if the input DNA is equally long and ultra-high molecular weight. This has driven the need for specialized extraction methods that minimize all forms of mechanical shearing, such as vortexing or pipetting with small orifices. An SOP for long-read sequencing would replace vortex mixing with gentle inversion and use wide-bore pipette tips to preserve fragments >50 kb. QC for such samples shifts from a simple DIN to assessing the absolute length of the largest fragments, often using pulsed-field gel electrophoresis.
Selecting the Optimal Silica Beads Kit and Automating the Workflow
Kit Selection Decision Framework
The market offers a multitude of silica beads DNA extraction kits, each with distinct formulations and specifications. Navigating this landscape requires a clear understanding of a laboratory's core needs. By answering a series of strategic questions, a lab can select a kit that not only performs well but also integrates seamlessly with its workflow and budget.
Question 1: What Are Your Predominant Sample Types and Volumes?
The first and most critical question concerns the samples. While the focus is blood, laboratories often process a variety of sample types. A kit validated for fresh whole blood with EDTA might not perform optimally with dried blood spots on FTA cards or with buffy coats. For labs with diverse sample inputs, a versatile kit that is compatible with blood, forensic saliva samples, and tissues can streamline inventory and training. Consideration must also be given to input volume; some kits are optimized for micro-samples (e.g., 50–100 µL), while others can handle larger volumes (up to 1 mL) to maximize yield from samples with low cellularity.
Question 2: What Are the Requirements of Your Downstream Application?
As detailed earlier, the end-use of the DNA dictates the necessary quality thresholds. For a lab solely performing routine genotyping PCR, a fast, economical kit that consistently yields inhibitor-free DNA is ideal. For a core genomics facility preparing libraries for NGS, the choice must prioritize kits proven to preserve DNA integrity and deliver high molecular weight DNA. This might involve selecting a kit with a gentler, non-centrifugation-based protocol or one that includes buffers specifically formulated to protect fragment length. The kit's specifications for A260/280 and A260/230 ratios should be reviewed in this context.
Question 3: What is Your Throughput and Automation Strategy?
Throughput is a major economic and logistical driver. A small research lab processing a few dozen samples a week may find manual spin-column or simple tube-based silica beads protocols perfectly adequate. However, a high-throughput clinical or forensics laboratory processing hundreds of samples daily must consider automation. Many modern silica beads kits, especially those using magnetic beads, are designed to be "automation-ready" and can be seamlessly transferred to liquid handling workstations. The SOP should be compatible with these instruments, and the kit should be available in prefilled 96-well plate formats to minimize setup time and the risk of pipetting errors.
Question 4: What Are Your Regulatory and Quality Assurance Needs?
Laboratories operating under regulatory frameworks like CLIA, ISO 15189, or ISO 17025 must use kits that provide the necessary validation data. For forensic applications, adherence to standards such as ISO 18385, which minimizes the risk of human DNA contamination in kit components, is paramount. Manufacturers typically offer different grades of kits—"Research Use Only" (RUO) and "In Vitro Diagnostic" (IVD)—with IVD kits carrying the regulatory approvals and validated performance claims required for clinical reporting. The selection process must align with the lab's accreditation and the intended use of the results, making the choice of a forensic swab DNA extraction kit a decision that involves both performance and compliance.
By systematically addressing these four questions, a laboratory can move beyond generic marketing claims and select a silica beads DNA extraction solution that provides reliable, high-quality results, whether for a single, precious forensic sample or for thousands of samples in a population-scale biobank. The ultimate measure of success is not just the DNA in the tube, but the confidence it provides in the data it generates.